Monday, 10 October 2016

My Current Haircare Routine


Today's post is all about hair. For a long time now, hair has been a big part of my life, as I style hair for a living. Even before training for my career, when I was little I always had one of those styling heads in my room. You know the ones that are just a girl's head and shoulders? With long hair that you could play with, cut and even put makeup and earrings on. I loved these so much, and could have hours of fun trying out different looks. It's no surprise really that I turned out loving everything beauty related!

So I thought it would be interesting to talk about my current favourite hair products. I'm no stranger to hair colour as you know and at the moment I am having bleach painted on every 8 weeks, so hair care is quite vital for me. This is important for everyone but especially because I want to keep my hair as long as possible also.

I would recommend any of the following products to anyone, but these work particularly well on long, blonde hair as you will see.


Philip Kingsley Pure Silver Shampoo and Conditioner

These are my absolute favourites and I have been using them every single time I wash my hair for about 5 years now. I even have to buy miniatures for when I am travelling for my suitcase, because I can't cope without them. This may sound dramatic but nothing else makes my hair feel so moisturised and soft. They also give it an amazing shine which is normally hard to achieve on blondes. The formula is gentle and leaves it easy to comb through. The light purple colour of the product also helps to keep any brassy tones at bay. Highly highly recommend to any fellow blondies!


Bleach London Silver Shampoo and Schwarzkopf Color Freeze Silver Shampoo

These two are a very pigmented deep purple colour and both assist in toning my hair ever so slightly to more of an ashy/white blonde. They are great for in between colour appointments to take away any yellow tones and I tend to use one of these about once a week.
For a more intense colour boost I even sometimes apply these onto dry hair for 10 minutes, before rinsing and then washing as normal.


Tangle Teezer

A classic, but a great one. I use my tangle teezer whilst still in the shower when I have rinsed my conditioner off. It really helps to comb through any knots without any pain or need to pull too much. I couldn't live without it.


Paul Mitchell Super Skinny Serum

This is a serum that I put into wet hair which actually helps my hair to dry faster when I am blast drying and also adds in some much needed moisture which stops any frizzing. I find that my hair doesn't get as fluffy either when I use this.

Living Proof Prime Style Extender

I have done a separate full blog post on this here, but I am still using it which is a good sign. I put a 50 pence piece size amount through my wet hair after the serum and before drying. I must admit I am quite lucky in that having wavy hair does mean that curls stay in my hair for days when I use a tong, but this definitely improves the longevity of any style. I have especially noticed this when I straighten my hair. It also protects against the weather which for me is a dream!
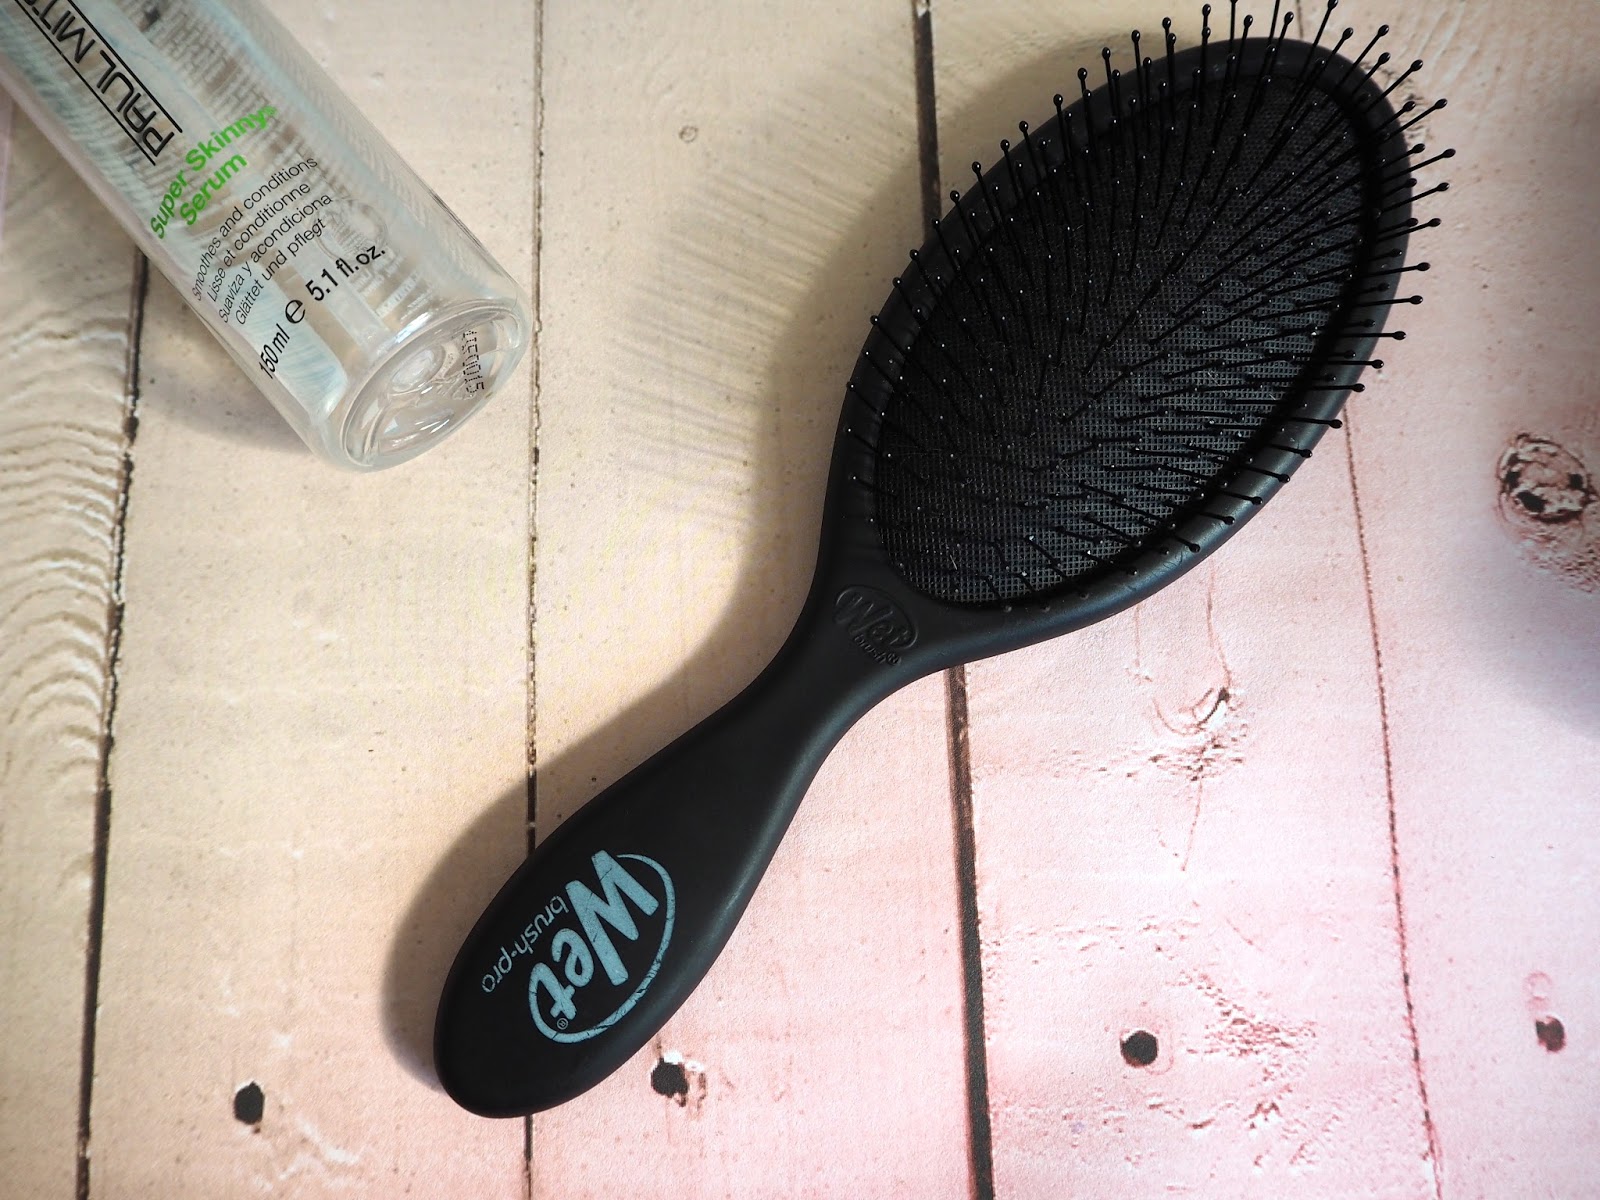


Wet Brush-Pro

I only discovered this recently and it is honestly so good! It looks like any other paddle brush but it really glides through wet hair so easily with no drag at all. I have been using this to brush through my hair whilst blow drying and it stops any knots from developing and leaves it feeling silky soft too.

Once my hair is dry and styled I don't use any other products generally. I personally don't love the feeling of hairspray or oils and like it to feel 'clean'.
Let me know if you have any miracle hair products that you couldn't live without...I am always interested in finding new things to try!


SHARE:

Monday, 29 August 2016

Instagram Makeup Vs Real Life


I was really excited a few weeks back to be contacted by my secondary school and was asked if I wanted to come back in to talk to the year 10 students during their activity week. They wanted to know about my own journey since leaving the school and my path to my career as a hair and makeup artist. I of course jumped at the chance...partly because I wanted to be totally nosey and step back in time to see what it looks like inside nowadays (I left 11 years ago).. but also because I thought it was a really great idea for young girls to meet an older version of themselves and learn about a career that they may potentially be interested in pursuing.
I did have an enjoyable afternoon, and even got a sneaky sentimental tour too, however I was mostly left surprised by the view of beauty that these teenage girls had.

I adore Instagram and YouTube and spend far more time than I should, watching and scrolling through some amazing inspirational accounts everyday. However...I do feel that it can be quite damaging to some young women and it really gives a very unrealistic view on the world of beauty and makeup artists. Anyone who has a passion for beauty can become a 'beauty blogger' nowadays, which is fantastic, and a lot of girls have created wonderful channels and look pretty incredible each day in their pictures. My issue is this...the blog and Instagram world has created a makeup style that everyone has adopted and young girls aspire to look like. It consists of a heavy base, super strong contouring and highlighting, very dark sharp eyebrows, thick winged liner and very over-drawn lips coated with a liquid matte lipstick. It mirrors the style of the Kardashian's and aims to make you look like you are walking around with a permanent filter over your face.

Now don't get me wrong-I love a winged liner, it is my signature go-to look and for an evening out I am all about the glamour and a smokey eye. Makeup is definitely fun and something to be played with, however as a professional makeup artist, this Instagram look just doesn't appeal and doesn't sit right with me.

Whilst chatting with the year 10 girls about the life of a makeup artist, I was amazed that none of them had heard of actual artists such as Lisa Eldridge, and only thought about the well-known bloggers, who despite creating a great following, are not actually trained at all.
They believed that my day must entail of re-creating this look every day, as this is how to 'do makeup'.

During my training I was told, and remember very clearly, that you want someone to say 'You look beautiful' not 'Your makeup looks beautiful'. This is something that has always stuck with me and I really believe in. I personally think it's sad that young girls don't hear this enough, and are always presented with images of super contoured and heavily made up girls.
This also isn't what I do everyday as a makeup artist...in fact quite the opposite. If you look through the pages of Vogue and look at the fashion stories, or even look at celebrities often on the red carpet, you will see that the beauty of the person shines through. It is often about just creating a perfect, dewy skin...and that's it! Or focusing on brows and lips...maybe just blush. Brows are often left natural and combed to show the hairs, not filled in and drawn to create a harsh block.
I love seeing the beauty in individual faces and complimenting it through colour and texture. Being a makeup artist is all about this, and not just creating one rather 'fake' look for everyone. Everyone is different, one look certainly doesn't suit all...and women don't have to look like this everyday. It just isn't real life.


Recently I have found myself talking more and more about millennials and the affects that growing up in a generation immersed in social media must have, and this is definitely one of the down sides that I notice. I mean using flour to 'bake' your makeup?! Who made people actually do this? Perhaps this is just my opinion but I for sure am happy to have grown up without such a pressure to conform to one 'perfect look'.
Let me know your thoughts on the world of beauty online...


SHARE:

Monday, 18 July 2016

A Weekend of Inspiration is Coming: Stylist Live 2016


So it will be a year in October since I met Lisa Eldridge (fangirl moment) and had my copy of FacePaint signed. As one of my main idols from the makeup world, this was a pretty amazing day as I am sure you can imagine! You can read more about this day here, as well as some more information and pictures from my day at Stylist Live. This was the magazines first live event, which they call A Festival of Inspiration.....and I for sure left feeling inspired last year.

The new website is now up with details on this year's festival and I have been checking out whats on offer incase anyone is interested in going this year...heads up it's looking good!

This year the official hair partner is Dyson and they will be showcasing their new Supersonic hairdryer and giving demonstrations all day over the 4 day event. I have been intrigued to see this in action since it launched and see whether it lives up to the hype, so for me, this was a great partner that they have secured and something I would love to go and watch. Being freelance I am always lugging around a heavy kit, so a lighter, faster alternative that is less damaging would be great...if it works.

Another thing that I was excited to see was the return of the Crosstown Doughnuts to the farmers market section. I spotted these delicious looking treats last year-however after walking past and thinking I would wait until the end to pick some up, to my horror they had sold out! So I will be headed there first thing without a doubt....there flavours look insanely tasty...think Sea Salt Caramel Banana and Chilli Chocolate!

The main source of inspiration however is the talks and workshops and there are over 150 to choose from. They range from beauty, food, business, fashion, crafts and lifestyle and I am very impressed by the line up. I have my eye on the workshops held by notonthehighstreet.com where you can be taught by the Partners to craft different things to take home and also talks from Pixiwoo and advice on how to fund your dream business.

If, like me, you love beauty events and the chance to hear your idols talk and be inspired, then check
out the website here: http://po.st/outStylistLive

I personally have struggled with motivation recently, I think we all do, but getting out the house and seeking advice always helps...especially when there is a free cocktail involved too!

Let me know if anyone gets a ticket or decides to go so we can meet up..I am hoping that I can learn some much needed knowledge about starting a business to help me on my current journey.


SHARE:

Thursday, 28 April 2016

Tips For Creating Volume in Fine Hair


One of the most common things that I get asked as a hairstylist is how to achieve volume in fine hair. As a race, we are never happy with our appearance, and are always trying to seek out the opposite of what we have. With hair in particular, the curly-haired girls want straight sleek hair, and equally the straight-haired ladies just want voluminous curls!
One thing I love about my job is being able to transform people and create characters in my photoshoots. I think it is wonderful nowadays that we have the technology available to allow us to play around and look completely different one day to the next. That's the exciting part; with the right tools and knowledge almost anything is achievable.....until you next wash it anyway!

Here are my top tips for creating volume if you have fine hair:

Use Products....But Just a Little

There are so many products out there that guarantee to give you volume, however it is so important to not overload the hair. If you coat your hair, in the hope that more equates to more volume, then you are doing it wrong. You will weigh your hair down, so the product will end up having the opposite effect. I would recommend a root lift spray, and also perhaps a little mousse through the mid lengths and ends as well.

Dry Your Hair UpSide Down

This may be an obvious one to some of you, but use gravity to your advantage! You want your hair to dry with your roots standing up, so tipping your head upside down will keep those hairs in the right direction whilst they dry.

Do Not Use a Nozzle

A nozzle attachment on the end of a hairdryer is designed to direct heat intensely into one area. This is perfect if you are blowdrying frizzy hair into a straight look, however if you have fine hair, it will smooth your hair cuticle down too much and take away the texture that you need. Take the nozzle off, so that the heat is distributed more evenly and you won't over-heat any areas.

Velcro Rollers

This old school technique really does work, trust me. The velcro version is better than the heated kind for adding volume, rather than a curl. Once your hair is dry, pop a few into your hair around your hairline and on top of your head, working back to the crown. Hold them in place with a section clip, so that they stay tightly in there, and then give them a little spritz with hairspray.
Then, with your hairdryer, just give the rollers a quick blast of heat again each, and then allow them to cool and set for as long as possible.

Backcombing

To add in extra oomph at the roots, then backcombing is a handy thing to know. Again, this technique has been around for years, but done well, it does work. You can even backcomb the roots slightly before putting your rollers in for added hold.
The trick here is to keep the backcombing disguised as much as possible, and not looking like a birds nest! When you have combed away, then lightly brush over the top of the section of hair, so that this looks smooth.

Pin Curling

If you are wanting to use tongs to create curls or waves in fine hair, then a great tip is to pin curl.
It is the process of cooling down in a shape that allows our hair to set that way. So you don't want to spend hours curling little sections of your hair and then letting them hang down whilst they cool. Once you take a section out of the tong, re-curl it towards the root and then pin it there. Again, you can spray them and re-heat, just like with the rollers, and then leave them pinned up for as long as possible. Before you go out, simply release the pins and then shake your hair upside down, softening the curls. It is always good to create tighter curls, if you are wanting them to last all day.


Scrunch Your Hair Up Overnight

If you have been lucky enough to keep the volume or curls all day, then sleeping on them will be a sure way to flatten them straight away. Tip your head upside down and gather all of your hair at the top of your head and loosely tie it there in a messy bun. This will keep your roots upwards and the curls should last within the bun, as they are twisted and not being dragged down.

I hope these tips can be helpful to some of you. Please let me know if you try any or would like advice on a different topic soon...


SHARE:

Monday, 25 April 2016

My Remedy For A Bleached Scalp


Anyone who wasn't lucky enough to be born Scandinavian and keep their super white blonde hair past the age of 5 ( I can dream!), will probably have considered or gone through with a full scalp bleach at some point in their lives. Especially if you are a fan of creating the unicorn/mermaid look, like I am, and colouring your locks a beautiful pastel shade.
I have always been a highlights kinda girl myself. Even whilst working in some top West End salons, where I could have taken the plunge and have experts experiment on my hair free of charge...I was always too scared.
A few months ago when I decided to go full on pink, I realised that my dream shade was just not going to be achievable with merely highlights alone. My hairdresser, who I completely trust, suggested we went for it and in a moment of bravery I said yes.
I must admit that I haven't looked back since. The finished blonde is so much whiter and cleaner, and seeing that I am a mousey blonde naturally, the re-growth isn't too bad either.
One thing that I have found though is that my scalp does get sensitive for a few days after being bleached. This is to be expected, and for me; a beauty addict, it is definitely worth it for the result. Beauty over pain and all that jazz!

Last week when I had my roots touched up and got home, I started to feel the tightness over my scalp and it felt quite dry. Almost like a mild sunburn. I decided to try and concoct my own remedy to soothe it. What I tried really seemed to work for me, so I wanted to share it with you all.


In a bowl I mixed 1 tablespoon of coconut oil and then a few pumps of Propolis Gel from SBC. I then massaged this onto my scalp and left it on overnight, before washing my hair in the morning.


I'm sure you have all heard the amazing benefits of coconut oil by now, but honestly it really is so great for your skin. It's moisturising and gentle and completely natural, which is a huge plus.
If you haven't heard of Propolis Gel yet, then it is also a fantastic nourishing skincare product. It is created by bees and is used as a coating to build their hives. For thousands of years it has been used for its healing properties, so I thought this was a must for my concoction. It is sold by SBC as a water-based gel, so it isn't sticky and easily absorbed into the skin. It is also anti-bacterial, and a natural antibiotic. It is recommended for soothing sensitive, chapped skin and aiding the healing process.

Once applied, it instantly felt cooling and soothing, and the tightness almost disappeared. The next morning after washing, I also noticed a big difference to my scalp. It was much softer and much less sensitive, with almost no dry areas. It also was completely back to normal within 2 days, which I was very happy with.

So if you are a regular hair bleacher, or are considering going for it but worried about the affects, then give this remedy a try and let me know how it works for you.


SHARE:

Saturday, 16 April 2016

How To Create Kylie Jenner's Lips: LipKit Review


A few weeks ago I was sitting on my bathroom floor, taking my makeup off, with my phone by my side, waiting for it to hit midnight. This may seem an unusual thing to share with you, but I was waiting for something pretty important. Well...important if you are interested in beauty and makeup anyway!
Kylie Jenner was re-stocking her Lip Kit's on her website and I was determined to get one. They have been selling out so fast and I have heard really good things, so this was a need situation. I need my lips to look as great as Kylie's...minus the fillers!
I went to bed very happy that night, as I managed to get my hands on a Posie K kit, despite the site crashing many times during my transaction....cue lots of panicking lol!

So fast forward a bit, and here it is. I now have the product in my hands and more importantly on my lips. I have worn it for a few days to test it out, so thought I would share my review with you.


The kit contains a liquid lipstick, as well as a lip liner in a matching shade. I really loved how well the liner applied. It is super soft and glides well, without that scratching feeling over the lips. The pigment is great too.
Then, whilst looking like a true chola girl, I applied the lipstick. The doe foot applicator is again very soft, and I was impressed by how easily it allowed me apply and create a neat shape. The colour pay off is instant and strong. There was no need to do a second coat, and it dried pretty quickly, to create the matte finish.
The only negative I have found is that the lid on my liner doesn't have much suction, so it does keep falling off.
I have mentioned previously that I usually veer away from matte lip products, as even though I adore the look they give, my lips do tend to get dry and cracked, especially in the winter, and so I do need the added moisture.
However, I was very happy to find that this left me feeling very comfortable all day, and wasn't too drying at all.
The colour also lasted really well throughout the day. I applied it at around 10am and only needed to re-apply at about 4-5pm. It even survived through a rather greasy pizza lunch! ( I obviously was allowed to eat this, purely for the test haha).

The Posie K is a lovely rich, berry/plum shade, and I think it will look gorgeous on a lot of skin tones.

So if you are into long-lasting matte lips, then I would definitely recommend picking up some of these. Kylie tends to keep you updated on her snapchat when they are being re-stocked, so keep your eyes out!


SHARE:

Tuesday, 12 April 2016

My Top Tips for Choosing and Applying Foundation


I am always surprised by the amount of people and clients I meet that are too frightened to wear or buy foundation and don't have the confidence to apply it.
A few weeks ago I met a lovely lady, who was probably in her forties and had never touched the stuff. She approached me sheepishly at an event, and was interested to try and learn, but was pretty convinced that it 'would not suit her skin'. 
I was over the moon when I saw her face light up after looking in the mirror. She felt as though her face had been airbrushed but couldn't see or feel the product on her skin.
This is how foundation should always make you look and feel, so I thought that I would share my tips and tricks on here. 
I'm sure that lots of you are amazing at applying and choosing makeup, but for anyone that is a little nervous, I hope this helps.

Choosing the Correct Colour 

This is probably the most important step and one that so many people struggle with. We have all seen that girl out and about who has an orange face and a very obvious line ending on her jaw and hairline, only to continue into a very different colour neck and hands. Not a good look!
The best advice that I can give to you is to swatch the foundation in the shop before buying. However, do not test the colour on the back of your hands....your hands are always a different colour to your face. This is where many people go wrong. The place to test the product is on your jawline. This way you can see how it matches against your face AND your neck. The right colour will blend in seamlessly and once rubbed in, you should not be able to see it. 


The Purpose of Foundation 

A lot of people who want to look a little more tanned, will be tempted to buy a darker foundation than their skin tone, to 'tan them up'. This is a big mistake. The purpose of foundation is simply to even out your skin tone and give a flawless base for the rest of your makeup. This is why you must choose a colour that matches your true skin tone, not your desired one. Remember your hands are always on show too, so the difference will be noticeable.
If you want to warm your skin up afterwards, that is where bronzers come into play.

Application 

I was always taught during my makeup training that the best makeup is when someone says 'wow you look amazing today', not 'wow your makeup looks great'.
The difference is learning to enhance your natural features, and skin in particular, so you look radiant and fresh, not caked in product.
The key to achieving this finish is, surprise surprise, not applying too much foundation and blending well. You can always add, but it is much harder to take away. 
Remember, you are simply trying to even out your skin, so these are the places where you mainly need the product. On myself and my clients I always work from the centre of the face first and then outwards. Generally, most of your redness and blemishes will be in your t-zone, so using a brush or fingers, work some product onto and around your nose, on your chin, forehead and around your eyes. Then, with whatever is left on the brush, blend outwards towards your cheeks and hairline. This way, there will be no build up around your hairline or jaw, as the concentration of foundation will gradually thin out.
If you do need a fuller coverage everywhere, then make sure to bring the brush down your neck a little too, to match it up, and not forgetting on your ears too.

Also, bear in mind your own skin. Are you wearing a base purely because you think you should? If you are lucky enough to have pretty even skin naturally, then maybe just look at using a tinted moisturiser or just concealer to pin point any small areas. 

To round up, you want your skin to look like skin. The best makeup artists usually won't want to fully cover and create a mask. They will cover what is needed but still leave freckles and a little glow to show through. It is in fact ageing to have a completely matte face.

So have fun, play and enjoy creating the best version of yourself. 


SHARE:

Wednesday, 6 April 2016

How To Get Rose Gold Locks: My Bleach London Rose Review


At the end of last year I posted about my growing obsession with pastel pink hair. I wasn't sure whether to take the plunge, and for those of you who follow me on Instagram will know, I went for it.
I posted a link to my video with my first impressions of using the Bleach London Rose products, however I want to share with you my full review now that I have been using them for a few months.

To delve straight in....I love them. My hairdresser and I chose to use the Bleach London range as this way I am able to keep it topped up at home, without the need to rush back to the salon so soon. Also, being a semi-permanent colour it was a great way to try it out without fully committing.

Firstly, I really like the packaging. I think it's modern and fun, and it helps that you can see the hair colour through the bottle, so you know what shade you are getting. 
When you open the bottle up, it smells delicious too. It is a sweet, marshmallowy scent (I think anyway...I am terrible at describing smells!) and it has a lovely soft consistency which is easy to apply. 

Once your hair has been shampooed and towel dried, you simply massage the colour in all over your hair and leave it on for 20 minutes. I have found that as the colour is a pastel, you don't have to panic if you think you might have slightly missed a bit, as it is fairly subtle and tends to blend in once it is dried anyway.
Once it has developed and been washed off, it leaves my hair a gorgeous shade of rose gold pink. It's super soft and pretty- who doesn't love rose gold at the moment!

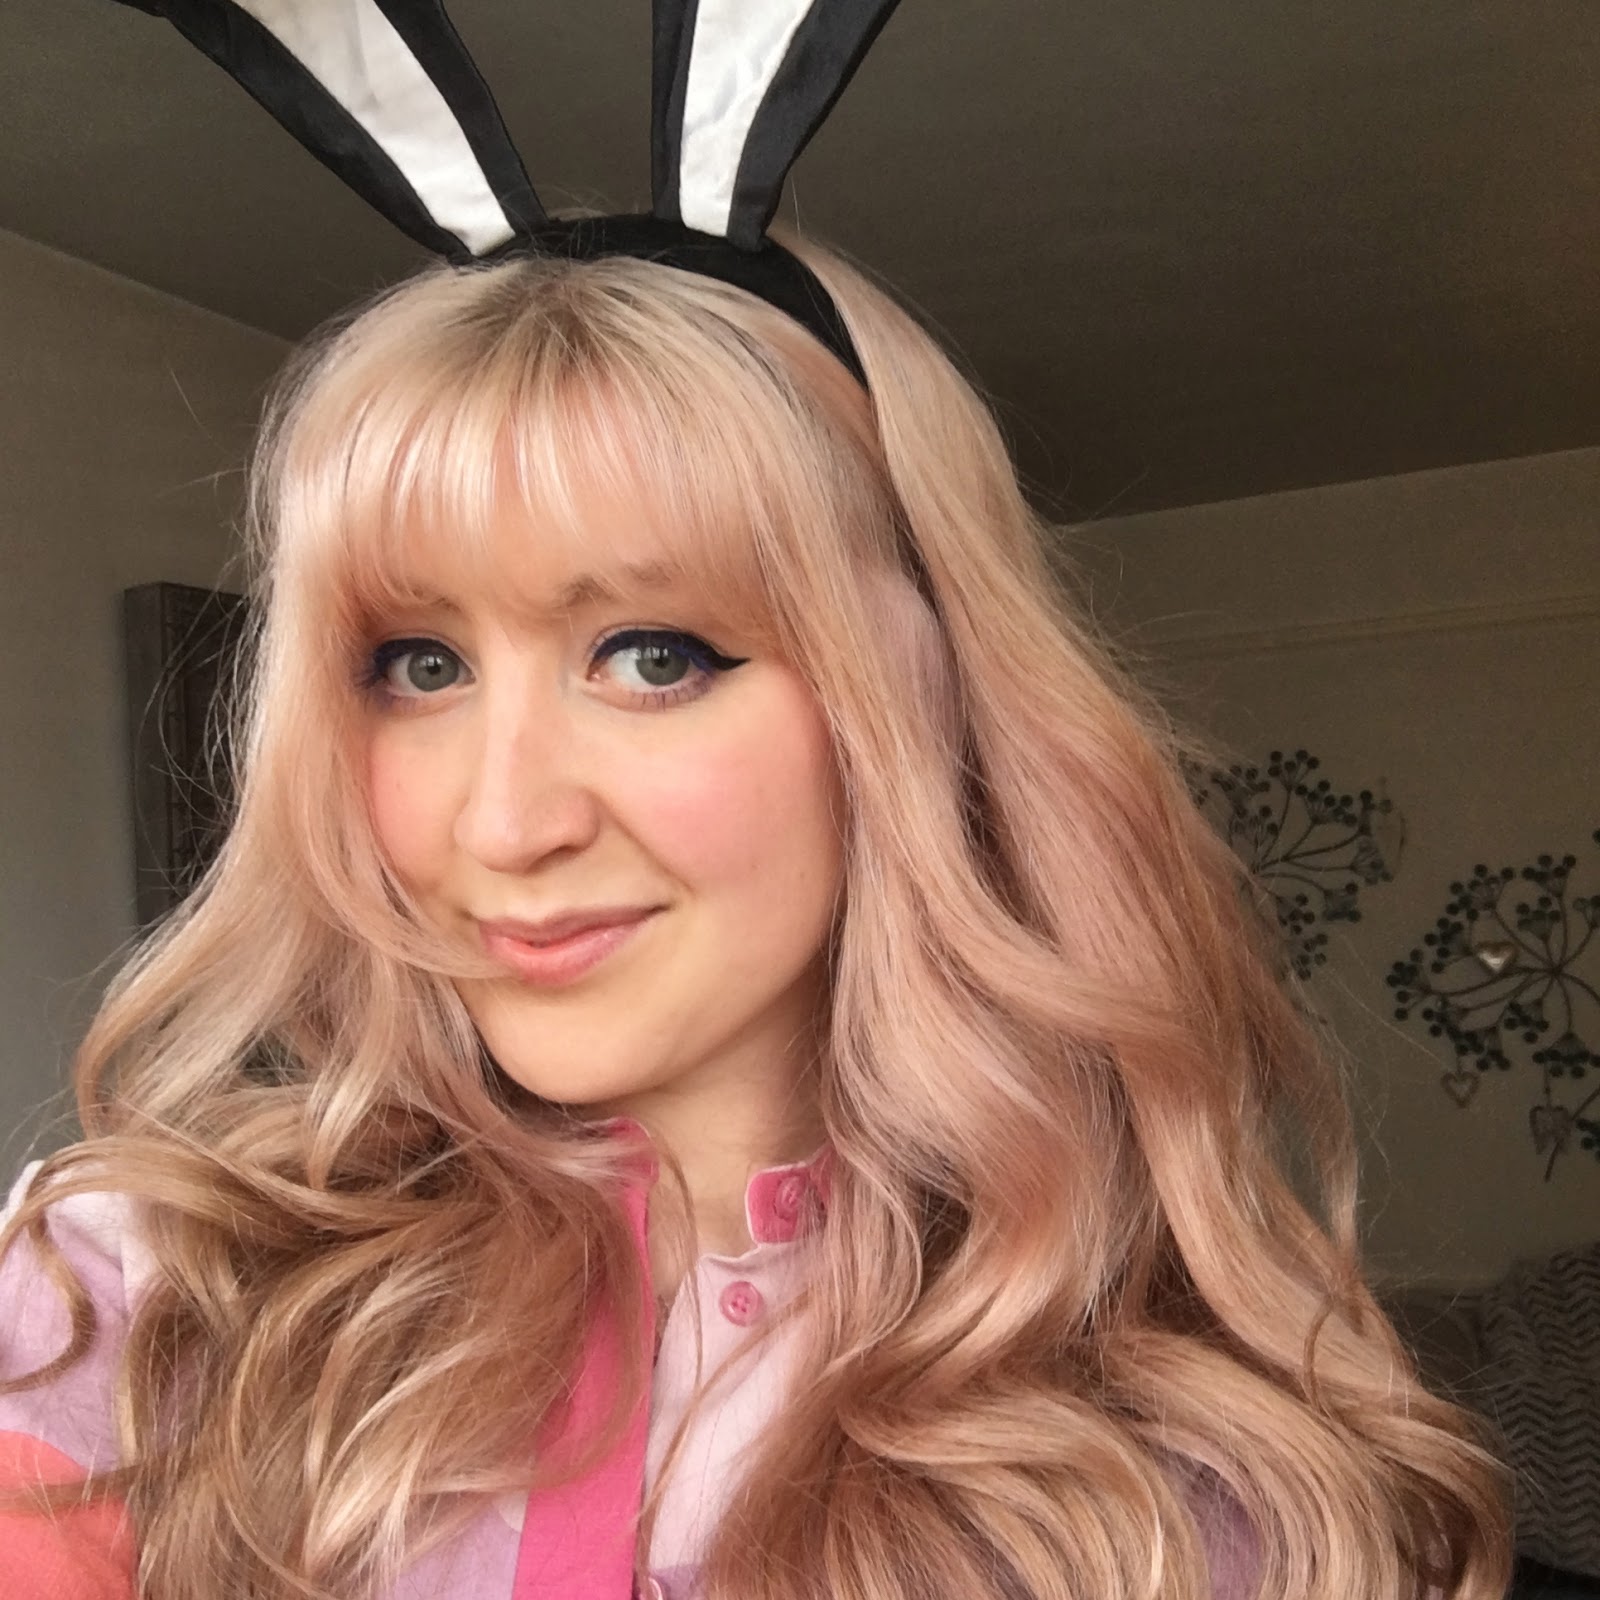
This is after an at-home application by myself.....yes it was Easter, hence the bunny ears!

When my hairdresser has applied it for me in the salon, it has come out as a stronger shade of pink, which is equally gorgeous. This is because after my hair has been bleached, she applies a toner, to achieve a cooler, whiter shade. The toner has purple in, so this as a base under the pink, really helps to rev the colour up a notch. 

My stronger pink hair, after the toner in the salon.

One thing that I adore about this range, is the shampoo and conditioner. I think it's a genius idea to add a touch of the hair colour into both products. Any pastel hair lovers will know that these soft, unnatural tones don't last for long on your hair. They basically just stain the outside, so I found that using the matching shampoo and conditioner helped massively to keep the colour for longer. 
It just tops it up each time you wash it. As I said, genius!

However, inevitably, as the pink does fade, a bonus is that it doesn't leave my hair looking a strange in-between colour.....which I have experienced previously! It fades beautifully and evenly, back into a true bright blonde. So I have really been enjoying having the option of easily being a pink princess (in my head lol!) and a cool white blonde too.

So to round up, I would highly recommend using the Bleach London Rose products to anyone wanting a change and gorgeous rose gold locks. One thing to mention, which most of you will know anyway, is that your hair does have to be pre-lightened to a very light blonde beforehand to get the best results. On brunette or dark blonde hair, the pink will hardly be noticeable.
As you can see from some of my images, the ends of my hair are slightly darker than the roots. Due to them being so much older and more prone to damage, we chose not to add any more bleach, as I love to keep my hair as long as possible. Therefore, the pink doesn't hold as well here, and is a slightly different shade.

If you are interested in picking up some for yourself, you can buy it from Boots stores. Just to note-I stocked up this week, as this post goes live, and the Bleach products were on offer for 'buy 3 for the price of 2'. So go check them out :)

Let me know if you have found any great pastel hair colours...


SHARE:

Thursday, 24 March 2016

The Glamour Beauty Festival


Usually I am the worst at getting out of bed in the mornings. It is just not for me, and I will stay put under the covers until the last possible minute.
However a couple of Sundays ago, I was more than happy to jump up and get going bright and early. I was excited and raring to go for a morning at the Glamour Beauty Festival.
I had booked tickets about a month before with my friend Emma..who also has a blog here...and I had spent the Saturday scrolling through Instagram to see what everyone had posted from the day before, on the first day of the festival.

I absolutely love going to events, and beauty specific ones in particular. I also love my monthly Glamour magazine, so this was right up my street!


The festival was held at the Saatchi Gallery in Chelsea. I must admit, I was intrigued to see how this would work and how it would be laid out, as I have mostly just been to large event and conference centres for these type of days. However I was not disappointed. As you entered the gallery you walked through a passageway where the walls were covered in quotes from the best beauty muses.
Each floor was dedicated to either hair, makeup, skincare, nails etc, so it was easy to find your way around and very well organised with plenty of space.


I was even papped on the day taking a picture of the beauty quotes wall....I'm on the Glamour website with my Lulu Guinness lipstick phone case!


The day was split up into two sessions for attendees, the morning pass gave me between 10am-1.30pm to explore and play, which I do think was the perfect amount of time. It also gave you the choice of a talk to attend. I chose to listen to the Beauty X Social Media discussion, which featured the lovely Fleur De Force, Estee Lalonde and Alessandra Steinherr; who is the beauty director at Glamour. The chat was hosted by Jim Chapman, who did a great job of navigating the talk. 
I was really inspired by these gorgeous women and it gave me a real boost by showing me what you can achieve if you work hard. For someone who is probably a little too obsessed with reading blogs and watching YouTube, it was pretty exciting to hear from these four in real life.


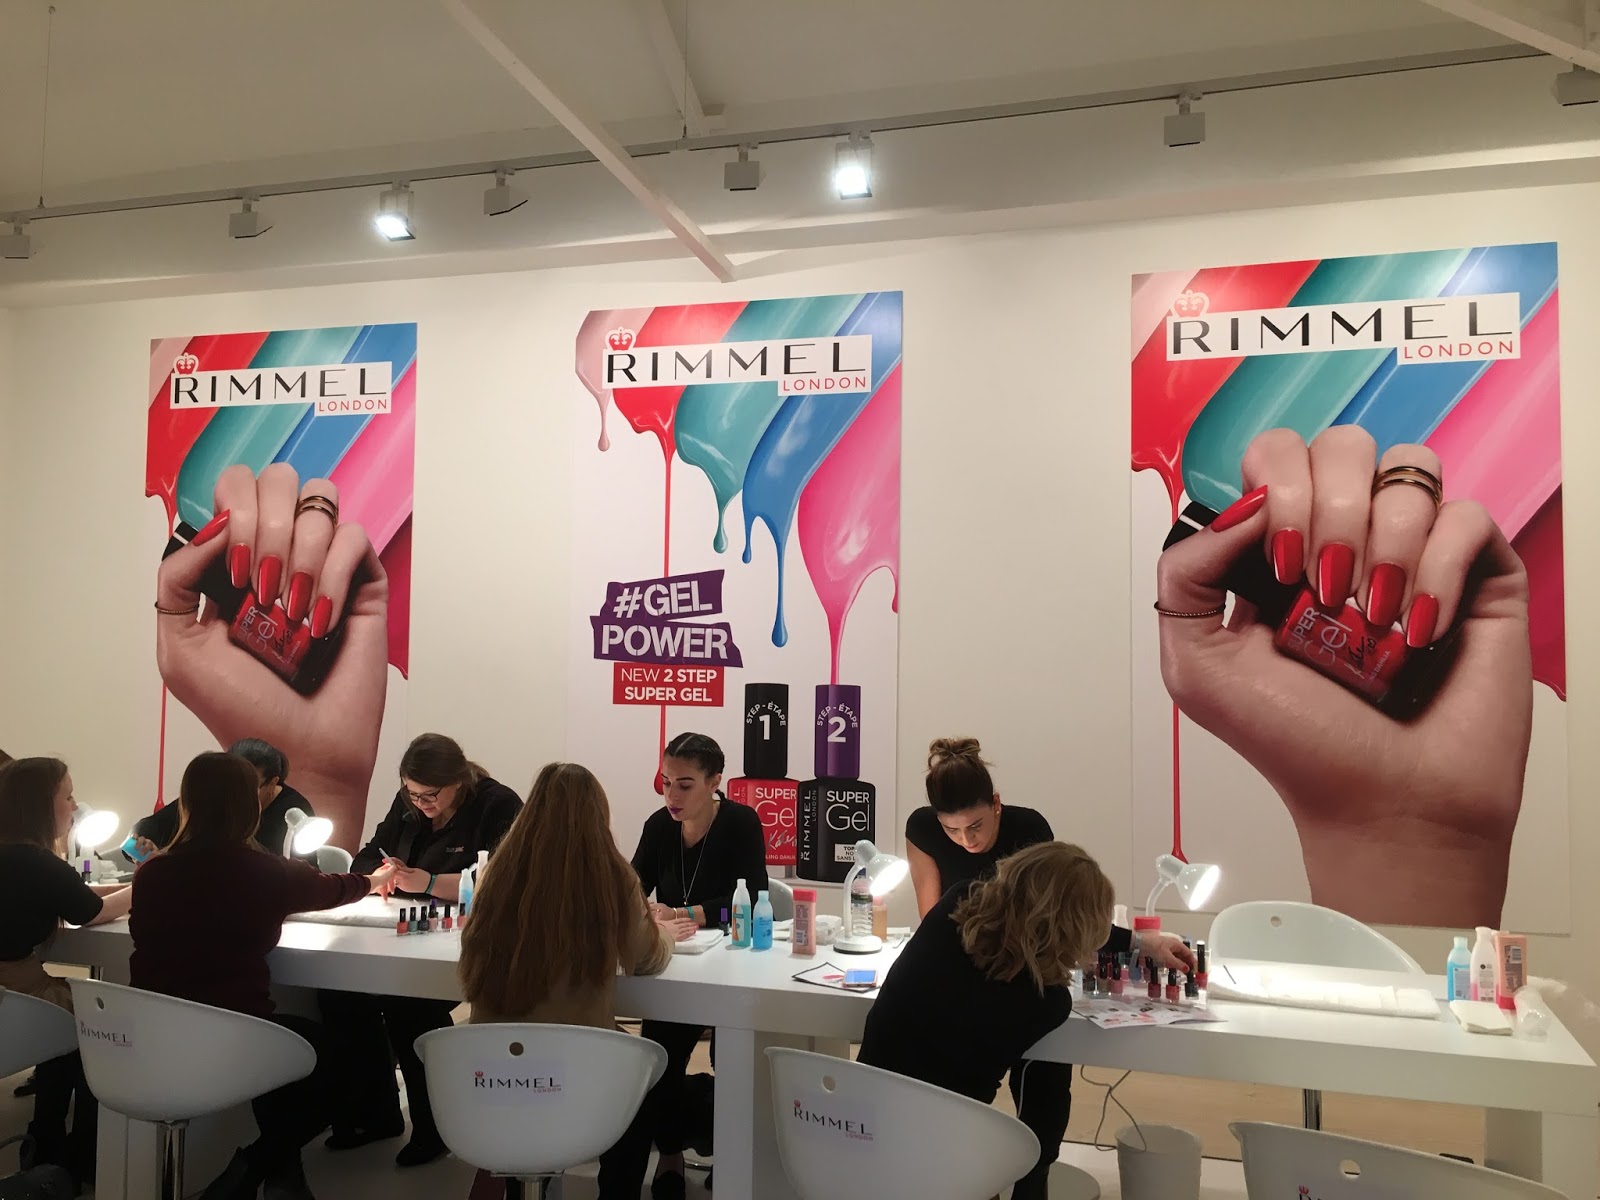
Afterwards, Emma and I were eager to have a play and make the most of the complimentary treatments available. I had a manicure with Rimmel, using their new Gel Power polishes, I had my hair braided with the Braid Bar and I also had a makeup consultation with Laura Mercier to find my perfect highlighter.


To top all of this lovely pampering off, there was a free glass of bubbly for everyone and also a goodie bag to take home worth £160, which was filled with so many wonderful brands and products....including one of my favourites...a full sized Liz Earle Cleanse and Polish!!

I had a really fun day with Glamour and was super impressed with their first ever beauty festival. I would highly recommend anyone who loves beauty and a pamper to go along next year.

SHARE:

Friday, 4 March 2016

Benefit They're Real in Beyond Blue


We all have seen those family photos from the 80's where all the women have bright blue mascara on right? A few years ago I could think of nothing more crazy than wearing some myself, however low and behold...here I am about to state how much I love it.

Blue is a hot colour for S/S this year, having already graced the catwalks last year, and I have seen lots of gorgeous images online, so I decided to take the plunge (yes I admit, I was hoping it might magically transform me into one of the models too...I wish).
I went for the Benefit They're Real mascara in Beyond Blue, as I am already a huge fan of Benefit products and religiously use their push-up liner.

I have been using the mascara every day for around 2 weeks now and I definitely covet it.
The first thing I noticed was the ease of application. It doesn't clump my lashes together and gives an even coating with nice separation. There is nothing worse than looking like you only have 4 very thick eyelashes!

Once it was on I was really impressed by the colour, which I have received quite a few compliments on also. It is a really pretty shade, which even paired next to my true black liner, stands out and can actually make the liner look blue/purple too which I like.
It brightens my eyes up, making me look more awake and I think it's a really lovely change from all black.

The only downside of this product for me is that a couple of times I have found that the wand can attract little strands of fibre or fluff from my clothes, but this certainly wouldn't put me off using it and buying it again.

Let me know your thoughts and if you give it a try too...


SHARE:

Monday, 18 January 2016

Volupte 1940's Makeup Compact


I have always been a makeup fanatic since a young age. I think the fact that my mum was the same and always had a full face everyday probably influenced me there and started my fascination.

In a previous post I wrote about the very exciting day that I met my makeup idol Lisa Eldridge last year and got my copy of her book FacePaint signed. I mention this because if you don't already know, which I'm sure most of you do, her book is about the story and history behind makeup.
I have followed Lisa's career and videos for years now and one video in particular that I loved was her collection of vintage products. 

Since then I have loved the idea too of sourcing and collecting old compacts and products. 
I just adore the idea that the item has a past. I love to imagine who it belonged to and where it was taken. What did it's owner look like and wear? There are so many things to dream about and I think it's almost quite magical. To some, this may seem crazy, but I'm sure a few of you can relate.

My boyfriend knew of my lust for vintage makeup, so to my surprise on Christmas morning I opened up this beauty....my first piece to my collection. 

This is a Volupte compact from the 1940's and it arrived to me from America. It is in beautiful condition, even with the original packaging. Inside there is a mirror which you can pull down and it reveals a compartment where I believe you could keep cigarettes. Then are the three makeup sections, one for blush, one for lipstick and one for powder. As you can see from the photographs there is still quite a lot of the original super pink blush and red lipstick in there. This is really exciting as you can see the actual shades that were in fashion! The powder has been used, but there is the original powder puff/applicator with the Volupte logo on, which is super cute.

It is a very weighty and well made compact. I think it would be amazing if this type of thing was still made today...a gorgeous and very useful way to touch up our makeup on the go.
I will really treasure this item and hope to keep adding to my collection now and learning more about the history behind the brands and products.

Let me know if any of you have any vintage pieces too! 


SHARE:

Friday, 15 January 2016

Living Proof Prime Style Extender


So I have heard a lot about the brand Living Proof and the science behind their products for a while now. Recently though, after a visit to Cult Beauty, I decided to take the plunge and order myself the Prime Style Extender.
Anything that can really help to protect my hair and keep it in shape and style for longer is definitely in my good books.

Having recently bleached my hair even more than usual to achieve a pink colour, it needs a lot of care and nourishment, especially on the ends. I usually use a smoothing serum before drying, but earlier this week I applied the primer and the primer alone, I wanted to see how it left my hair feeling with nothing else added.
Once I dried my hair, I then also ran my GHD's through to give it a sleeker appearance. My first impression was good, however it didn't feel as moisturised as usual, which I think I was expecting.


But later in the day something happened which really impressed me. It started to hailstone very heavily in my town, and after trying to hide in the car for as long as possible, I finally made a dash through the storm to reach my house. I was not a happy bunny as you can probably imagine. I was due to leave the house again very soon to head out for lunch and thought I would now have to tie my hair up.
However this wasn't the case....the hailstones slid of my hair and even though it felt pretty damp in places, it dried in the exact same straight style. Now I will just add that my hair is naturally wavy and any touch of rain, or anything wet for that matter, will cause at least a kink or frizzy patch to appear..so this was pretty exciting!

The next magical moment came the next day. I went to the gym the following morning and tied my hair into a high ponytail. I did mainly resistance training, so I wasn't super sweaty to be fair, but my hair stayed tied up until the evening. When I finally released the band, there was no kink or band mark! I repeat no kink or band mark!! I'm not sure how this is even possible but I was very happy.
Just a quick brush through and it looked pretty perfect still.

So in summary, as I think you can probably already tell, I really loved this product. Next time I am excited to layer it with my usual serum and I think it could be added to my favourite styling products!
I will definitely have to try some more of the Living Proof range.


Here is a link to the Prime Style Extender:
SHARE:

Thursday, 14 January 2016

Beautiful Mermaid Brushes


As a makeup artist, and a makeup lover in general, I am totally obsessed with brushes. I come over all flustered when I purchase new ones and get far too over excited!

Honestly though, I really believe that a good set of brushes are a great investment and make the world of difference to your application.

Being the girly-girl that I am I stumbled across the brand Spectrum through Instagram, after spotting a mermaid clam filled with brushes. Yes you did read that correctly....a mermaid clam! I know, I freaked out slightly too!
So I clicked purchase right away and I am now the proud owner of these beautiful brushes and the Glam Clam.

The handle of each brush is mint green and rose gold, and the actual brushes are lilac and pink ombre. What more could you want?!
Going a little deeper beyond their looks however, these are super super soft on the skin and do their job perfectly. They are also vegan and animal friendly which I love, and so far they clean up very well too. I think the lilac faux leather clam is so fun and cute, and looks adorable on a dressing table.

I would definitely recommend checking out the brand if you are after some great but affordable brushes, and they come in lots of different colours too which are all gorgeous!


Having looked on the Spectrum website today, I believe that the Glam Clam is currently sold out, but hopefully it will be back in stock soon.


SHARE:
© Pennies and Feathers. All rights reserved.
Blogger Templates made by pipdig